To enable quick installation of the Facebook pixel on your site we have created a custom integration.
To activate, simply navigate to the integrations section of the site in question, click Activate and enter your Facebook pixel ID:
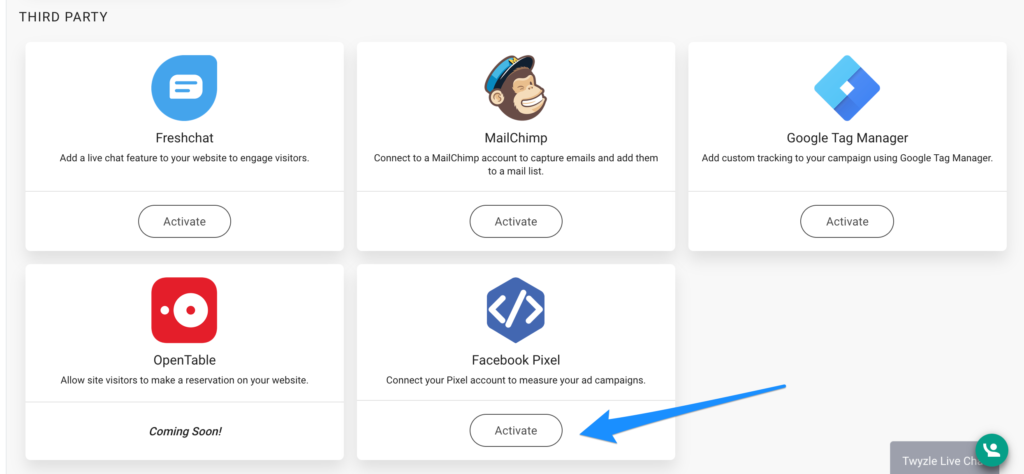
To find your Facebook pixel ID.
In Business Manager or Ads Manager, open the navigation menu and select “Events Manager”
Click on “Pixels” and find the pixel you want to install.
Copy the Pixel ID shown under the name of the Pixel and insert this number into the Twyzle integration.
![]()
All Done! Your tag will be successfully installed on your site and ready to use.
NOTE: Action-specific tags:
In addition to installing the base code set, we automatically create specific tags for the different types of conversion events on your website (for example, phone calls or conversions).
You don’t need to do anything extra, if we detect a phone call or form submission, it will automatically show in your Facebook account as a conversion event (Lead).